|
Another procedure from: Stiegl
KNOW YOUR RADIO CODE - You'll need it when the job is
complete!
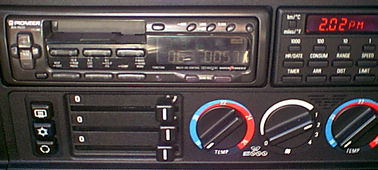
Replacing the E34 blower fan and temperature control light
bulb:
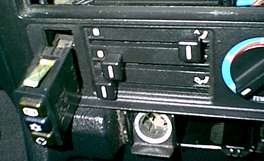
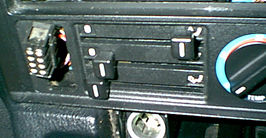
- Start by removing the small panel on the left side of the
center console next to the
radio (I don't remember if this was necessary or not - bad
memory).
- Open the tiny left and right panels on the outer edges of
the radio and using an allen wrench loosen the screws to remove
the radio - the allen wrench wont be an exact fit, but if
the screws aren't super tight, it should do the job.
- Pull the radio straight out after loosening the screws.
Disconnect wiring on the back allowing you to remove the radio.
- Reach inside the opening where the radio used to be and
push out the 'plug' with the defrost/ac/recirc buttons on
it. You may have to push down on the inside-top edge of the
'plug' while pushing it out to release it, as there is a spring
loaded retainer integrated with the plug.
- Disconnect the wires leading to the 'plug' and remove.
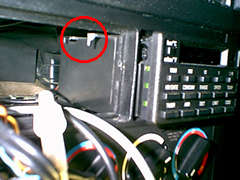
- On left inside edge of the HVAC panel is a release lever.
You should be able to feel it either through the hole where
the plug used to be OR you may feel it throught the radio
opening - I don't recall whether or not you can actually see
the release lever - perhaps if you use a mirror and a flashlight.
I would describe the lever as being similar a spring-loaded
clothespin - the kind you squeeze to open the 'jaws'. If I
remember correctly, the lever stays in the opening and will
not come out with the HVAC panel. By opening the jaws, you
release the left side of the hvac panel, so youll need to
pull the left side of the panel out while holding the jaws
open (hope that made sense).
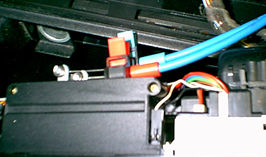
- Squeeze the cable release levers in back of the HVAC panel
and remove the cables. (you may have to move the levers around
to remove cables)
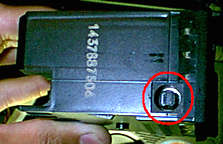
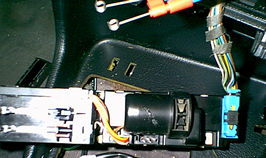
- On the right side remove and disconnect the temperature
control plug by pulling the black release handle straight
back, now pull the plug out.
- Remove the other electrical connectors on the back of panel.
Using a small bladed screwdriver, release the back HVAC panel
by depressing the 4 tabs and carefully prying the panel out.
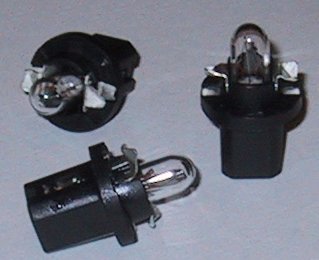
Now remove the old bulb and replace it with your new bulb.
Your now half done.
Now push the back panel back on carefully and reconnect the
wiring plugs. Put the rest of the switches, plugs, panels,
etc back in and your done.
Radio Bulbs from Ricky J
When I got my '90 535 this summer the radio/CD changer was
a mess. There was no LCD illumination, one or two CD's worked
out of the six, and every bump I went over interupted the
changer. I thought a new head unit, changer, $500 and jerking
the seats out again would cure it, but I tried to fix it first.
LCD - The LCD has three small bulbs behind it. I replaced
them, and the display is as good as new! After pulling the
top off the radio, pull out the cassette player. Remove the
front. Remove the LCD board. Unsolder the 4 LCD mounting clips.
VOILA, there are the three bulbs. I used three Radio Shack
bulbs from radioshack.com Cat 90-2614 Lamp 680:T-1 (wire terminals)for
$1.11 each. Solder in the new bulbs. I should not have done
it myself, because the microsoldering was tough. A good radioshop
would do a better job.
CHANGER SKIPPING - When I pulled out the changer, I noticed
a 10/90 date on my 4/90 car. There were two inline fuses.
The CD changer was added after the car was sold. I found the
shipping screws still locking the changer frame to the "floating"
guts. Needless to say, the fix was cheap.
CHANGER NOT PLAYING - I pulled the casing off the changer,
and flipped up the bottom board. I slid the head-lazer unit
over so the glass was visible from the bottom. I cleaned the
glass with a Q-tip. The changer now works on 90% of the CD's
I put in.
|
